Building a Deep Learning Desktop PC
Building a Deep Learning Desktop PC
Introduction
Over the past few months, I have worked on several deep learning projects. In each case, one thing has become clear to me. Deep learning requires significant processing power. I have, in the past, used my 2015 MacBook Pro for training deep learning models. In some cases, the models that I have worked with have taken upwards of 6 hours to train. Since much of what I have been doing is really based on experimentation, waiting 6 hours to see if something worked is a drag… no pun intended.
This past month, I decided to build my own dedicated deep learning computer to see if I could speed things up a bit. Based on what I had read, using a dedicated graphical processing unit (GPU) really speeds up the time it takes to train neural networks. Also, having a separate computer for training models would free up my Mac for other things like writing blog posts and recording music.
The first step was to come up with a plan. Mine was simple. I knew I wanted to run Ubuntu 16.04, and I knew that I was going to use an Nvidia GPU…
My First Plan
I read several blog posts about building deep learning boxes, and settled on the following parts list.
!!! I DID NOT BUY THESE PARTS !!!
Note:  I didn't buy these parts.  Please see below!!!

Intel - Core i5-7600K 3.8GHz Quad-Core Processor
$215.00

Cooler Master - Hyper 212 EVO 82.9 CFM Sleeve Bearing CPU Cooler
$19.99

Asus - PRIME Z270-A ATX LGA1151 Motherboard
$146.88

G.Skill - Ripjaws V Series 32GB (2 x 16GB) DDR4-3200 Memory
$399.89

Samsung - 960 EVO 250GB M.2-2280 Solid State Drive
$127.89

Seagate - Barracuda 2TB 3.5" 7200RPM Internal Hard Drive
$54.99

EVGA - GeForce GTX 1080 Ti 11GB SC Black Edition Video Card
$777.89

Corsair - 760T Black ATX Full Tower Case
$169.99

EVGA - SuperNOVA NEX 650W 80+ Gold Certified Fully-Modular ATX Power Supply
$89.89

TP-Link - TL-WDN4800 PCI-Express x1 802.11a/b/g/n Wi-Fi Adapter
$39.88

Acer - GN246HL 24.0" 1920x1080 144Hz Monitor
$189.00
(I used pcpartspicker.com to come up with my initial list.)
I needed to get the parts ordered fairly quickly for tax purposes (as this was a business expense) and so I ended up taking my parts list to Microcenter. The sales person was extremely knowledgeable and helpful and was able to prevent me from making a few key mistakes. The first mistake was that I picked out a motherboard that would not work with the Nvidia GPU. The second mistake I made was that I picked out a cool looking case, but that case would not have had sufficient cooling capacity. The sales person recommended a different motherboard and a different case. Those two things and a few other substitutions ended up dropping the price a bit. I purchased an extended warranty (I know… I may have been a sucker on that one) for the Nvidia card. That GPU was almost 50% of the total cost of the machine. I wanted to be extra sure that if something happened to it, I would be able to get it replaced. Here is the final list of parts I ended up with:
!!! I BOUGHT THESE PARTS !!!
CPU 402503	INTEL INTEL I5-7600K 179.99
RAM 841346	CORSAIR 32GB 2X16 D4 379.99
Solid State Drive 169557 SAMSUNG E 250GB 960EVO NVME M.2 SSD 114.99
GPU 296145	EVGA GTX1080TI FTW3 GAMNG 11GB 799.99
Motherboard 207548	GIGABYTE Z270X-U GAMING 1151 ATX 119.99
Monitor 984278	DELL 23.6" LED SE2417HGR 99.99
Anti-static Strap 564971 IFIXIT ANTI-STATIC WRIST STRAP 3.99
Hard Drive 274365	SEAGJM 2TB BARRACUDA 3.5" OEM 59.99
Network Card 421420	TPLINK 300MBPS WRLS N PCIE ADPTR 19.99
Power Supply 402370	POWERSPEC 750W 80 FULL ATX PSU 79.99
CPU Cooler 888438	COOLMAST HYPER 212 EVO UNIV HSF 34.99
GPU Warranty 026369	TWG TWG-2YR PROT PLAN 89.99

Subtotal			$1,983.88
Tax				$142.61
Sale TOTAL 			$2,126.49
One thing you may notice from the above… there is no case listed. Turns out, the clerk somehow missed scanning it. I called the store after reviewing the receipt and paid for it. They were very glad I did, and gave me a nice discount.
Case:  197673	CORSAIR OBSIDIAN 450D MT ATX CASE 89.99

Subtotal		$89.99
Tax »			$6.78
Sale TOTAL 		$96.77
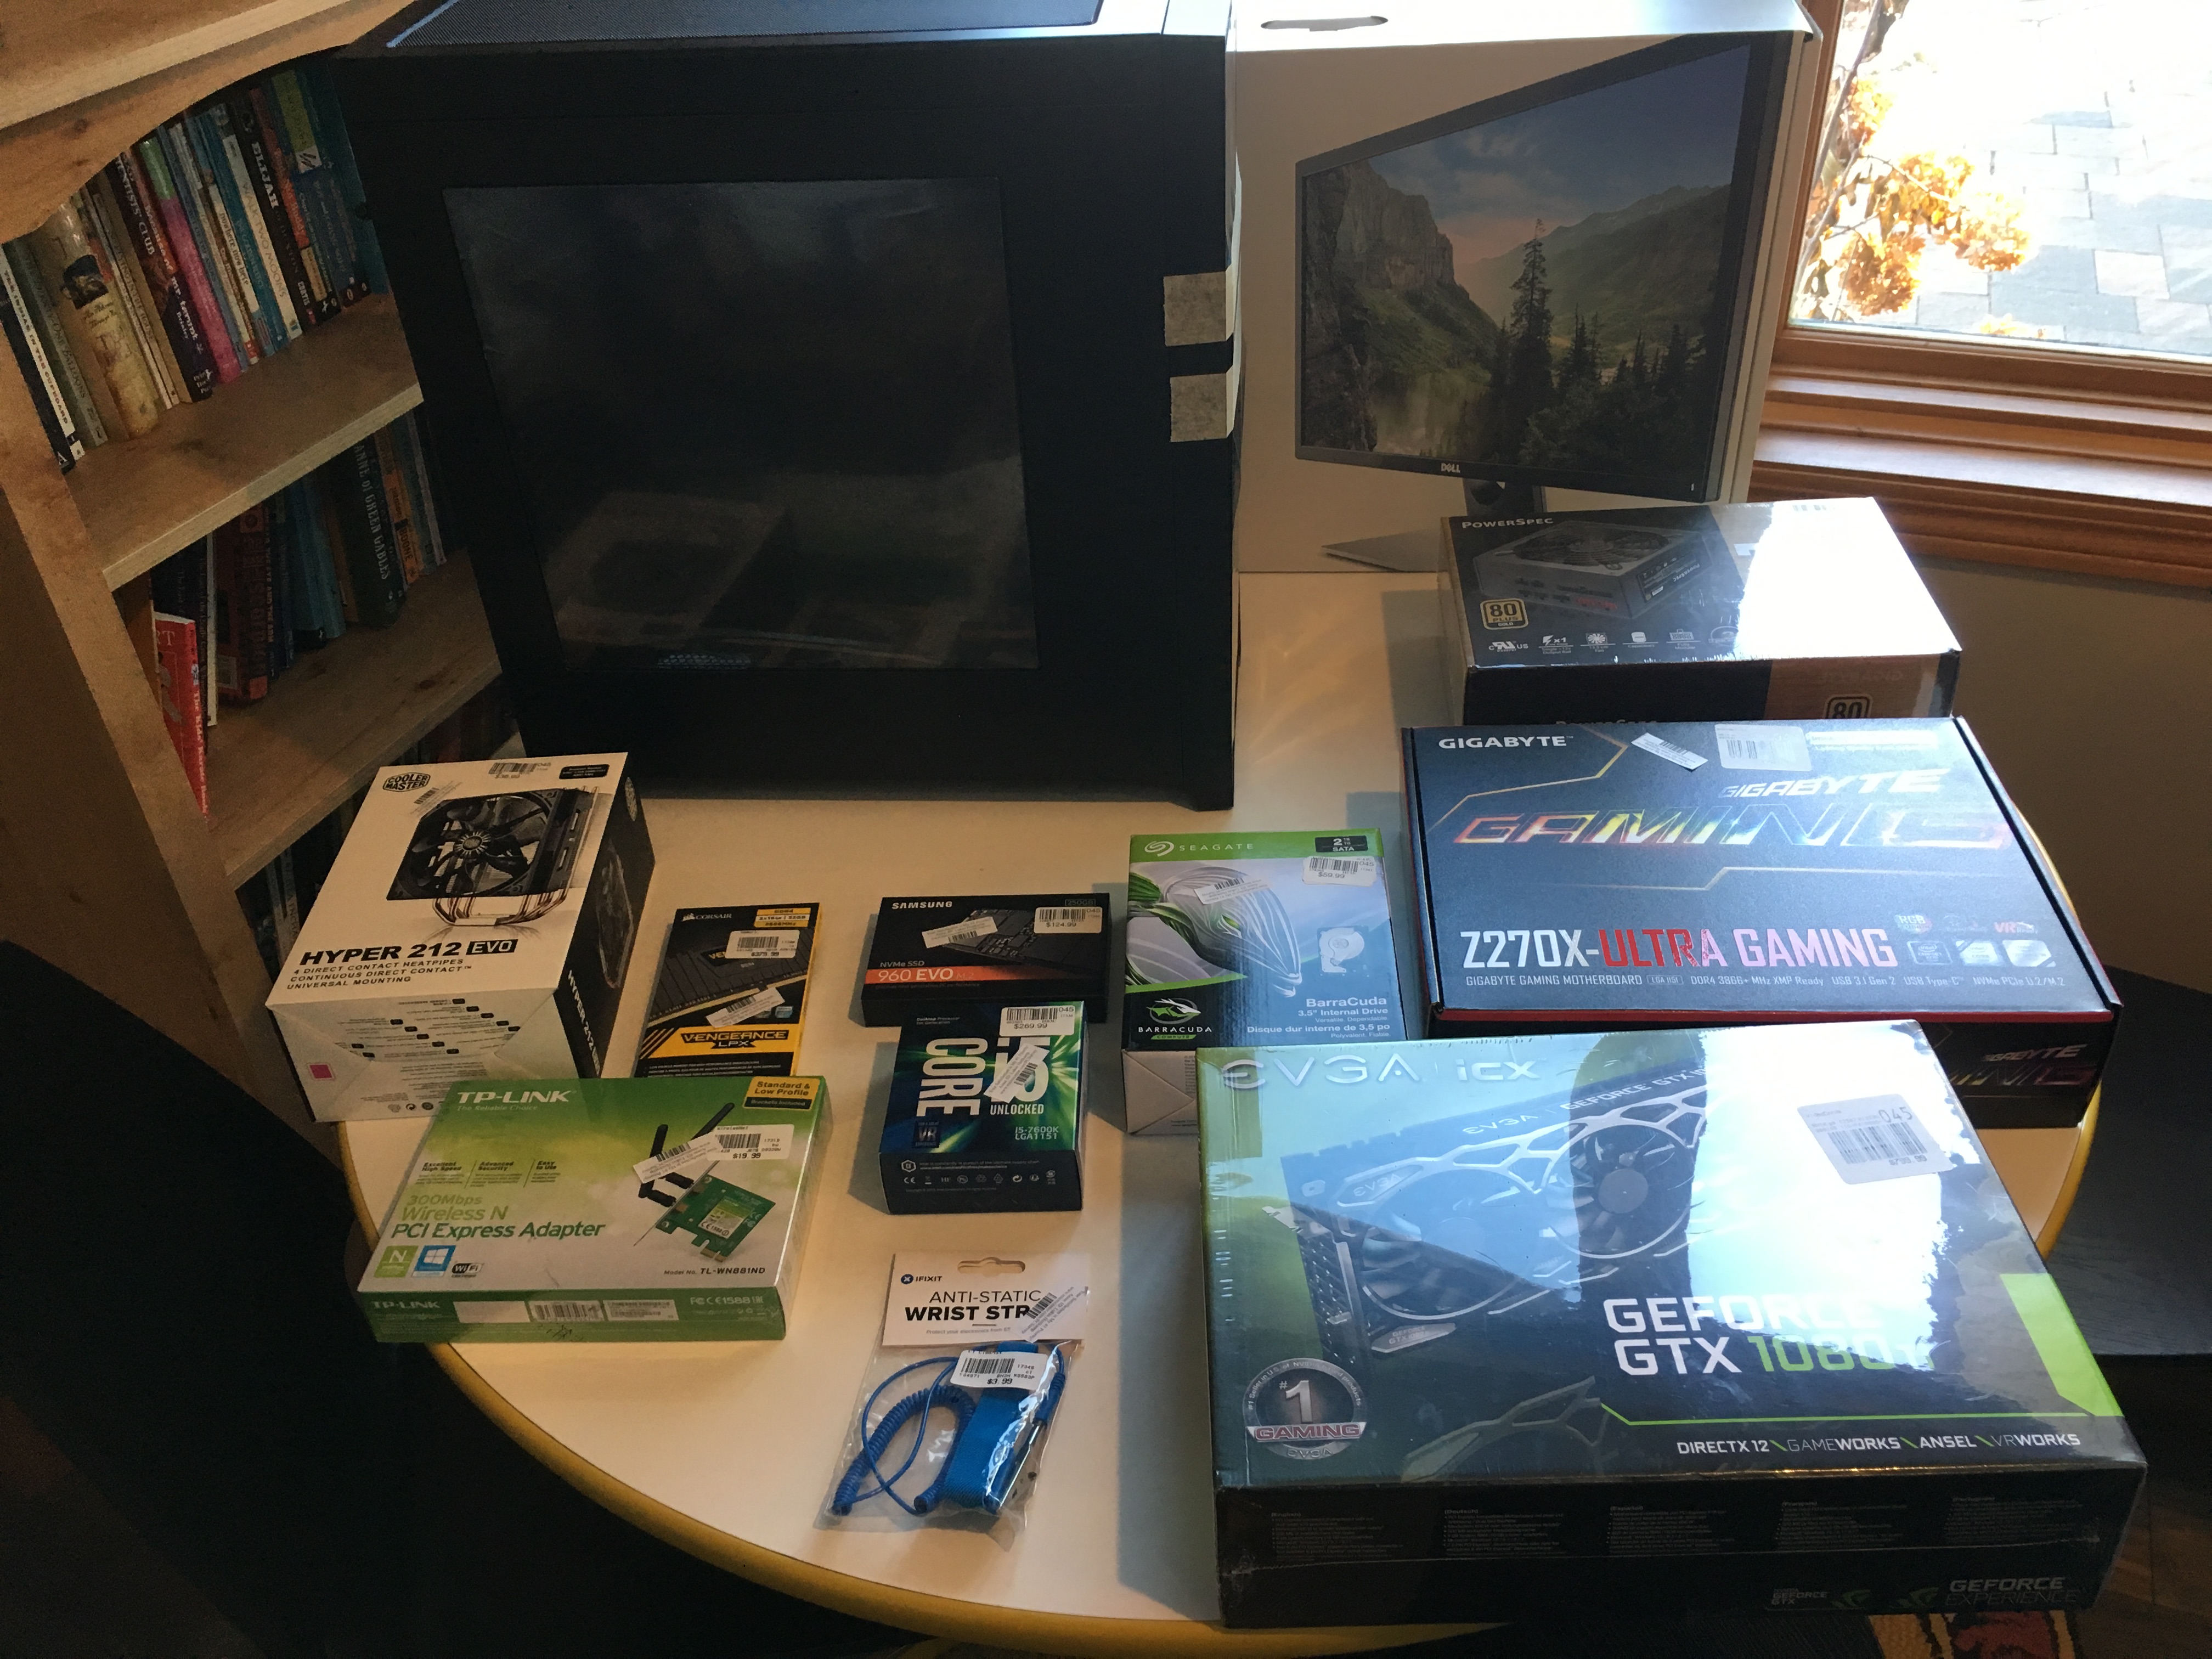
Here is a picture of all the parts pre-assembly…
Assembly
Now for the “fun” part… er… well… I used to really enjoy this kind of stuff, anyway.
There is no set of “instructions” for this kind of thing from start to finish. Each component comes with some sort of instructions, which are typically just a little piece of folded paper with pictures on it. I ended up sort of figuring it out as I went. Here are the general steps I took:
- Put the RAM and CPU on the Mother Board.
- Put the CPU Cooler on the CPU/Motherboard.
- Put the Motherboard in the case.
- Put the hard drive and SSD on the motherboard
- Put the power supply in the case.
- Put the GPU and the Network card in.
- Cable up everything. (Remembering that the CPU and the hard drive need power too. I forgot these initially.)
Some important points I learned:
-
The CPU cooler comes with “thermal grease” that needs to get squirted on the top of the CPU. The cooler then rests in/on that grease. There is a bracket that mounts on the non-cpu side of the motherboard for the cooler. I put the grease on first, and then realized that I needed to flip the motherboard over. It turned out to be no big deal. However, I was a bit concerned that the GPU grease was going to ooze all over the CPU and the motherboard.
-
It is probably a good idea to run all the cables first to the motherboard BEFORE you seat the cards to make sure that the cables are all routed the way you want them in the case. Initially, I had some trouble getting the GPU to seat correctly on the motherboard because a ribbon cable was in the way.
-
There is a small slot for the SSD on the motherboard. It can be tricky to find if you have old eyes as it does appear a bit like a ribbon cable header.
-
If you have a headlamp or some type of light source, that may help seeing in the case. My case has a significant amount of mesh/screening. Still, it was tricky too see at times.
-
The case fans have a 3 pin female plug. The board has 4 pin male headers for the fans. Make sure that you have the plug covering the correct 3 pins. It is clear which ones these are… if you have enough light to see things clearly.
-
I opted to use the integrated video card on the motherboard for this system, and use the GPU exclusively for processing. In the next post I will cover what you have to do in order to get all that working. For now, I would recommend that you make sure that the motherboard BIOS has the integrated video card enabled, and you plug that video out (in my case HDMI because the monitor only supports VGA and HDMI) into the monitor.
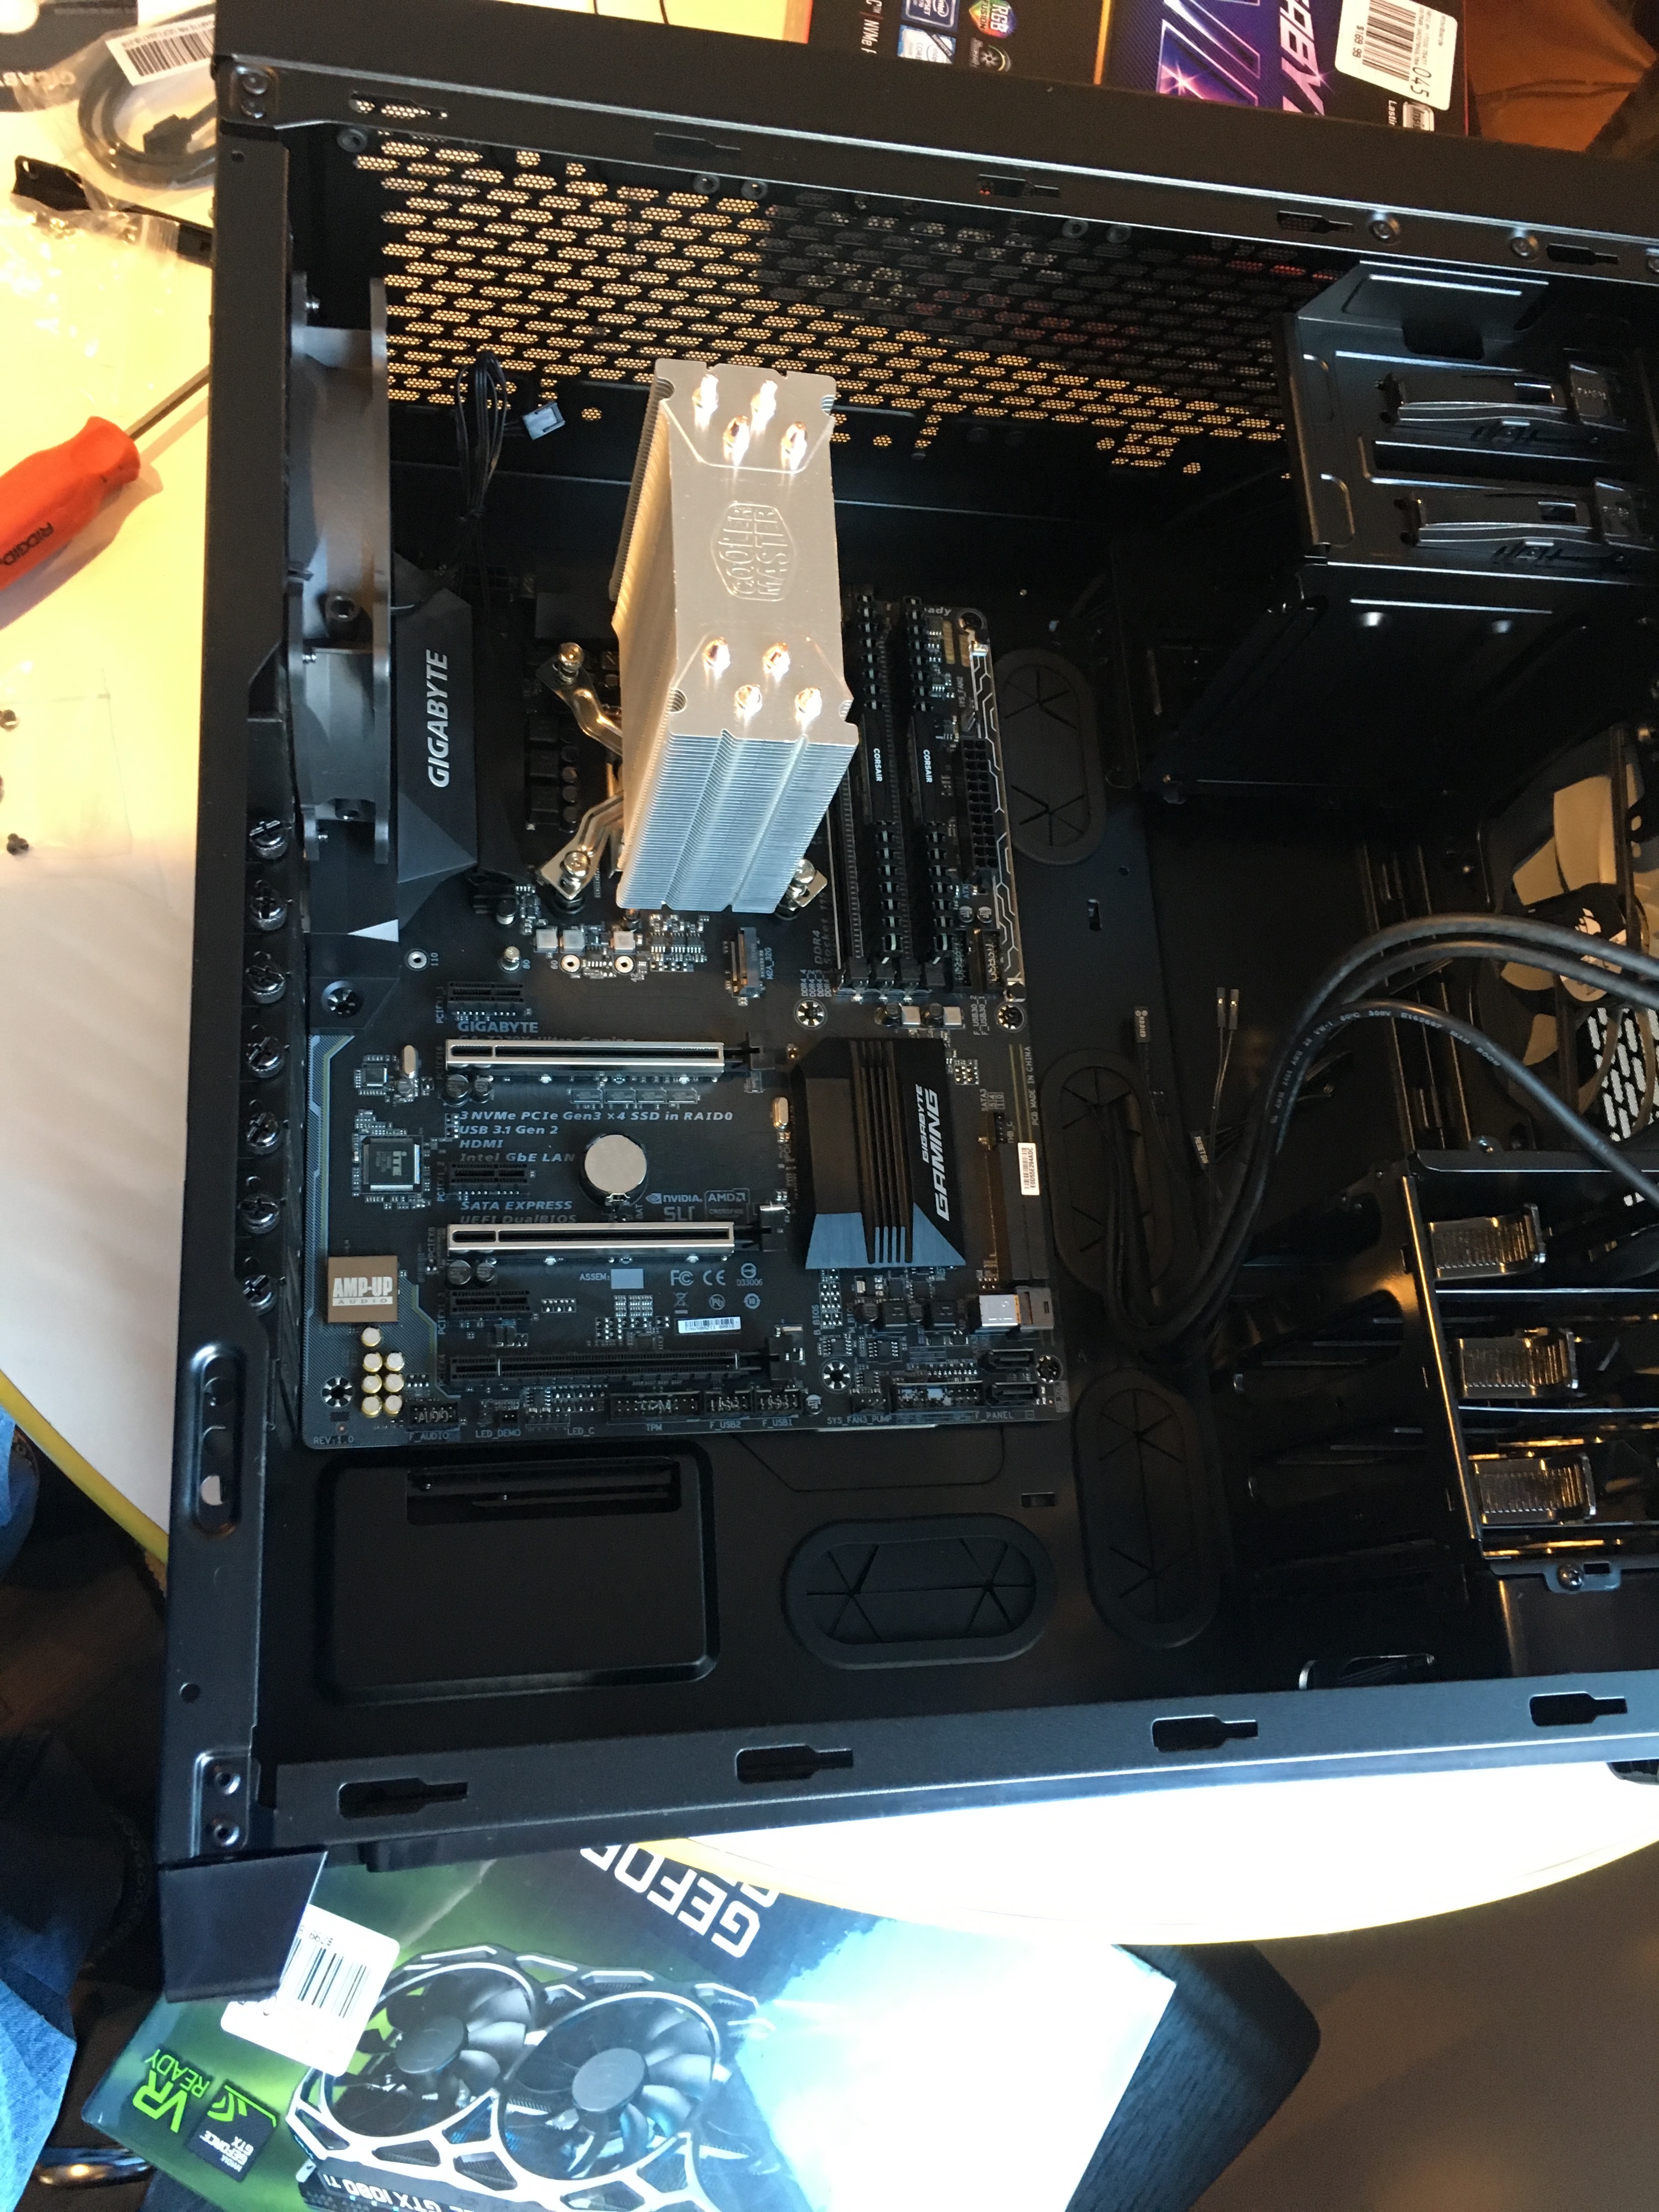
Installing the CPU and Thermal Grease

CPU Cooler Installed
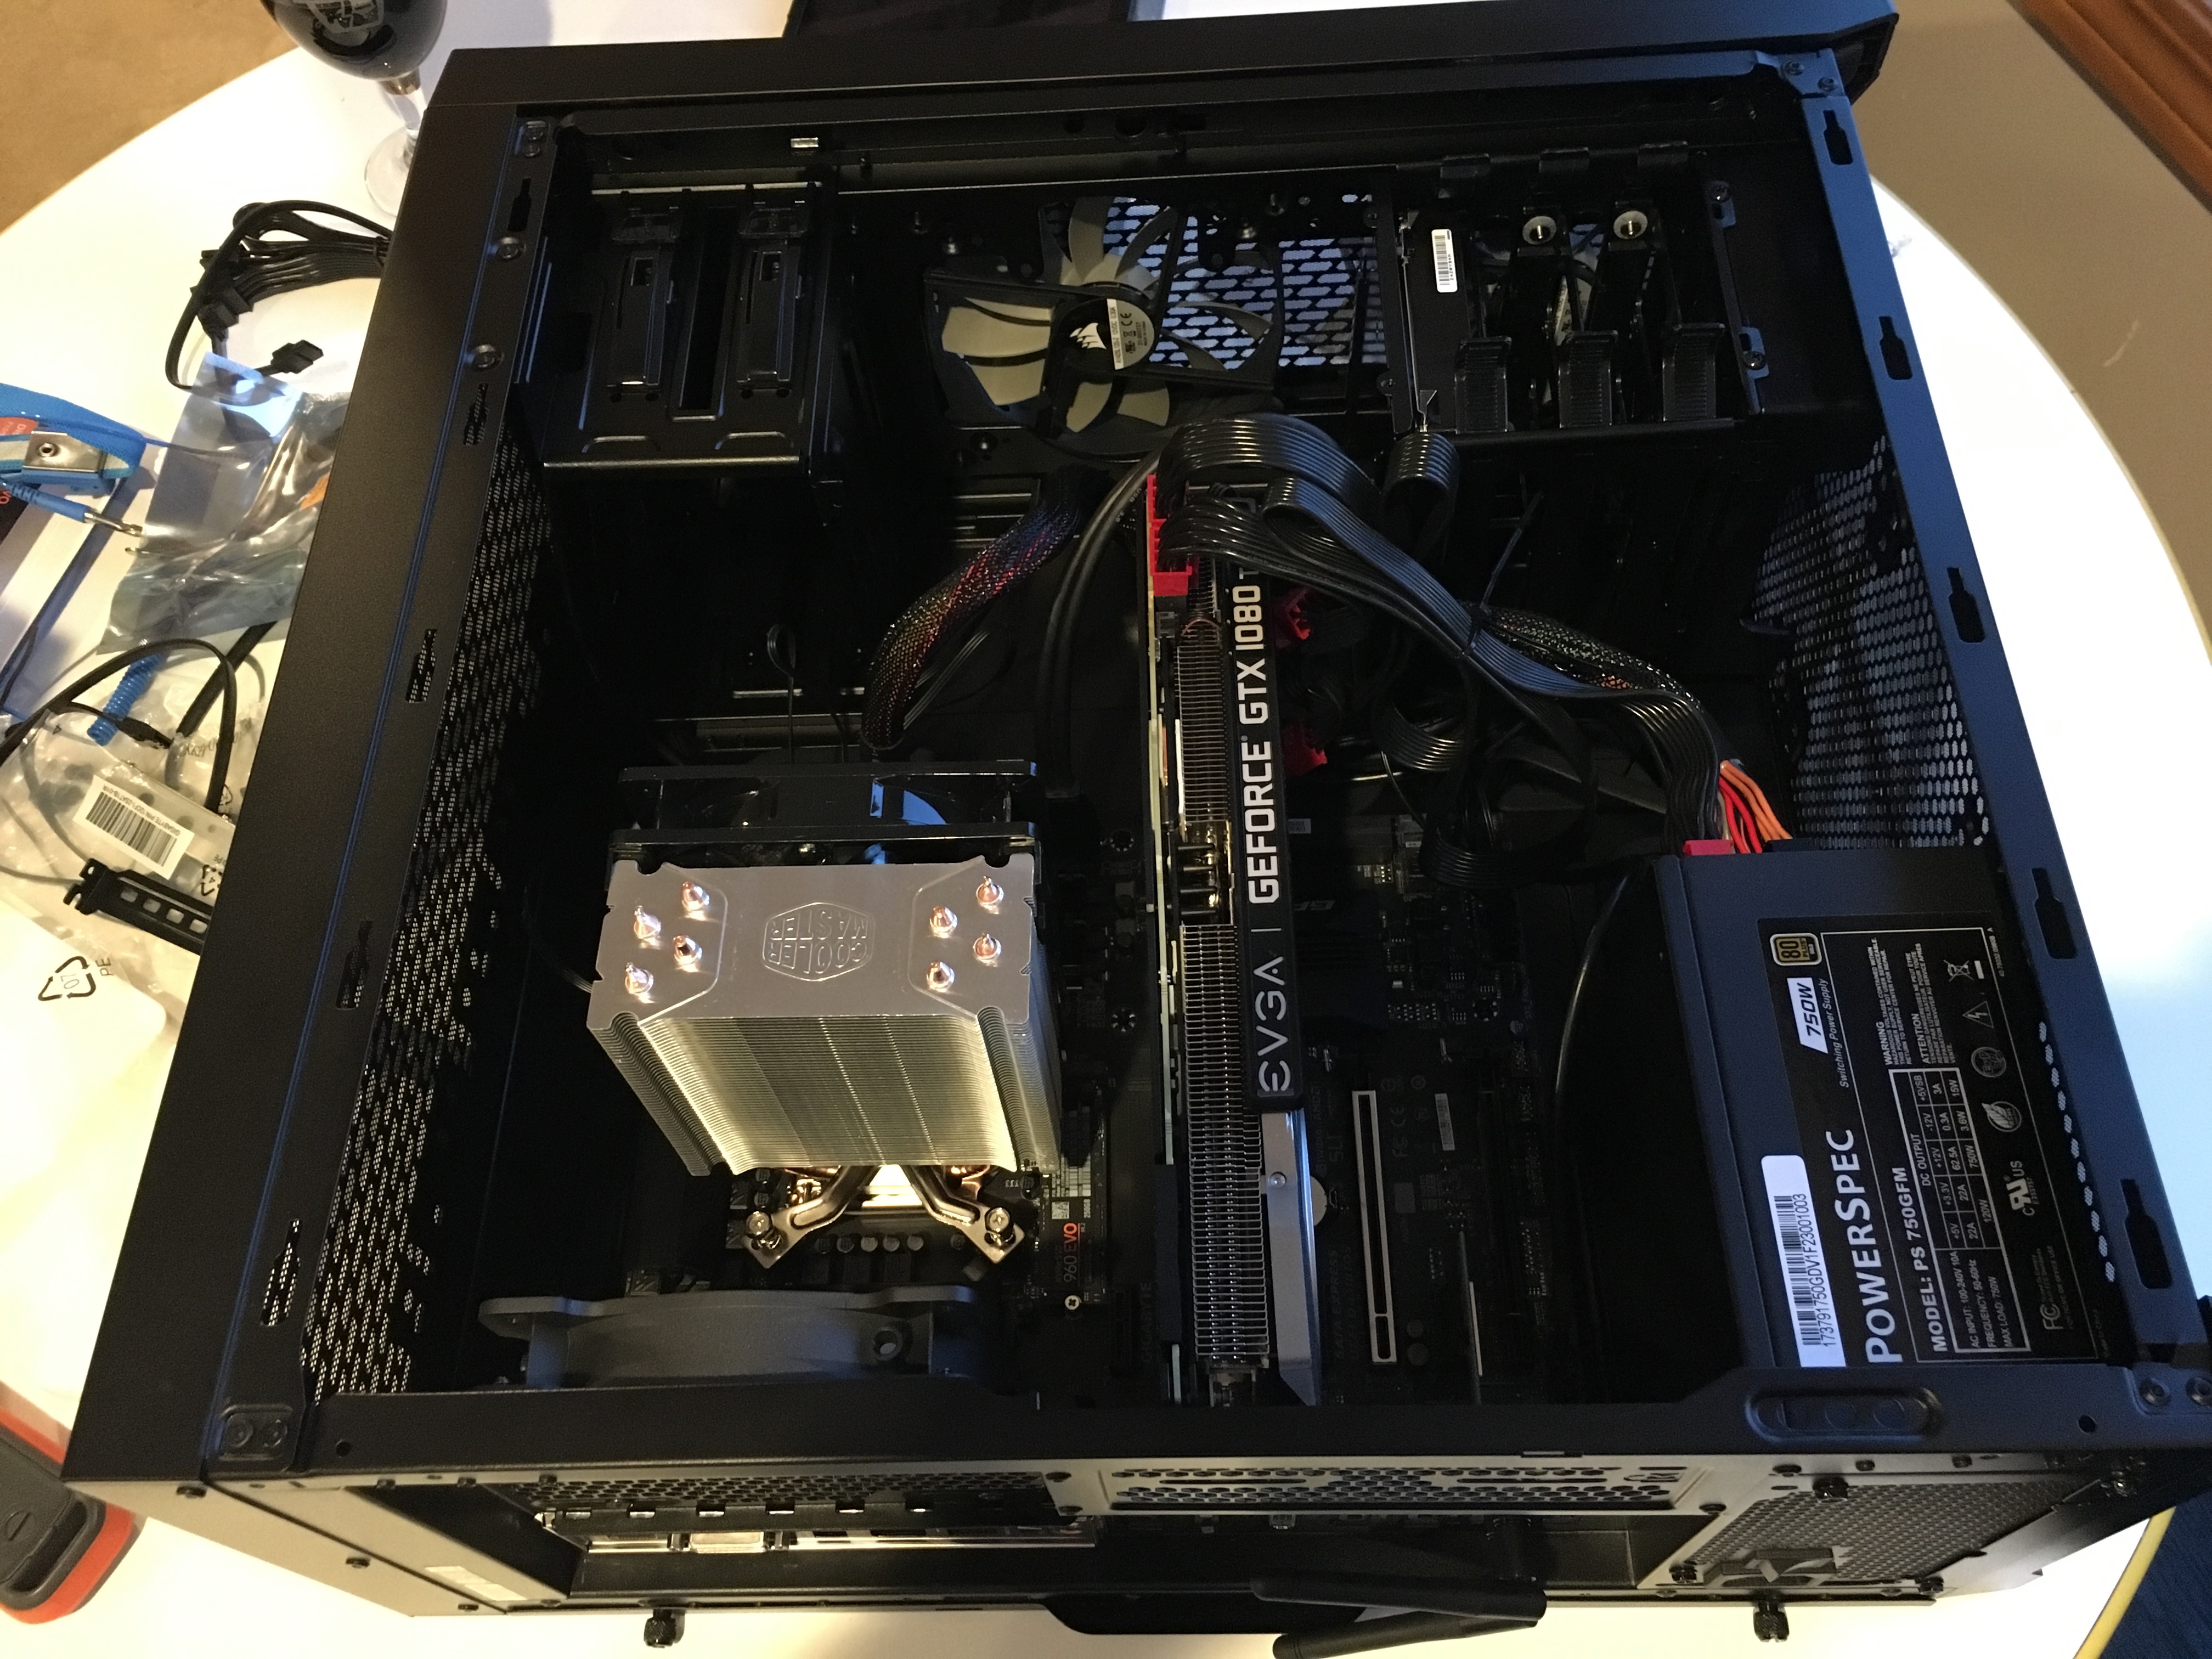
GPU Card and Network Card Installed
Box closed, beer opened.
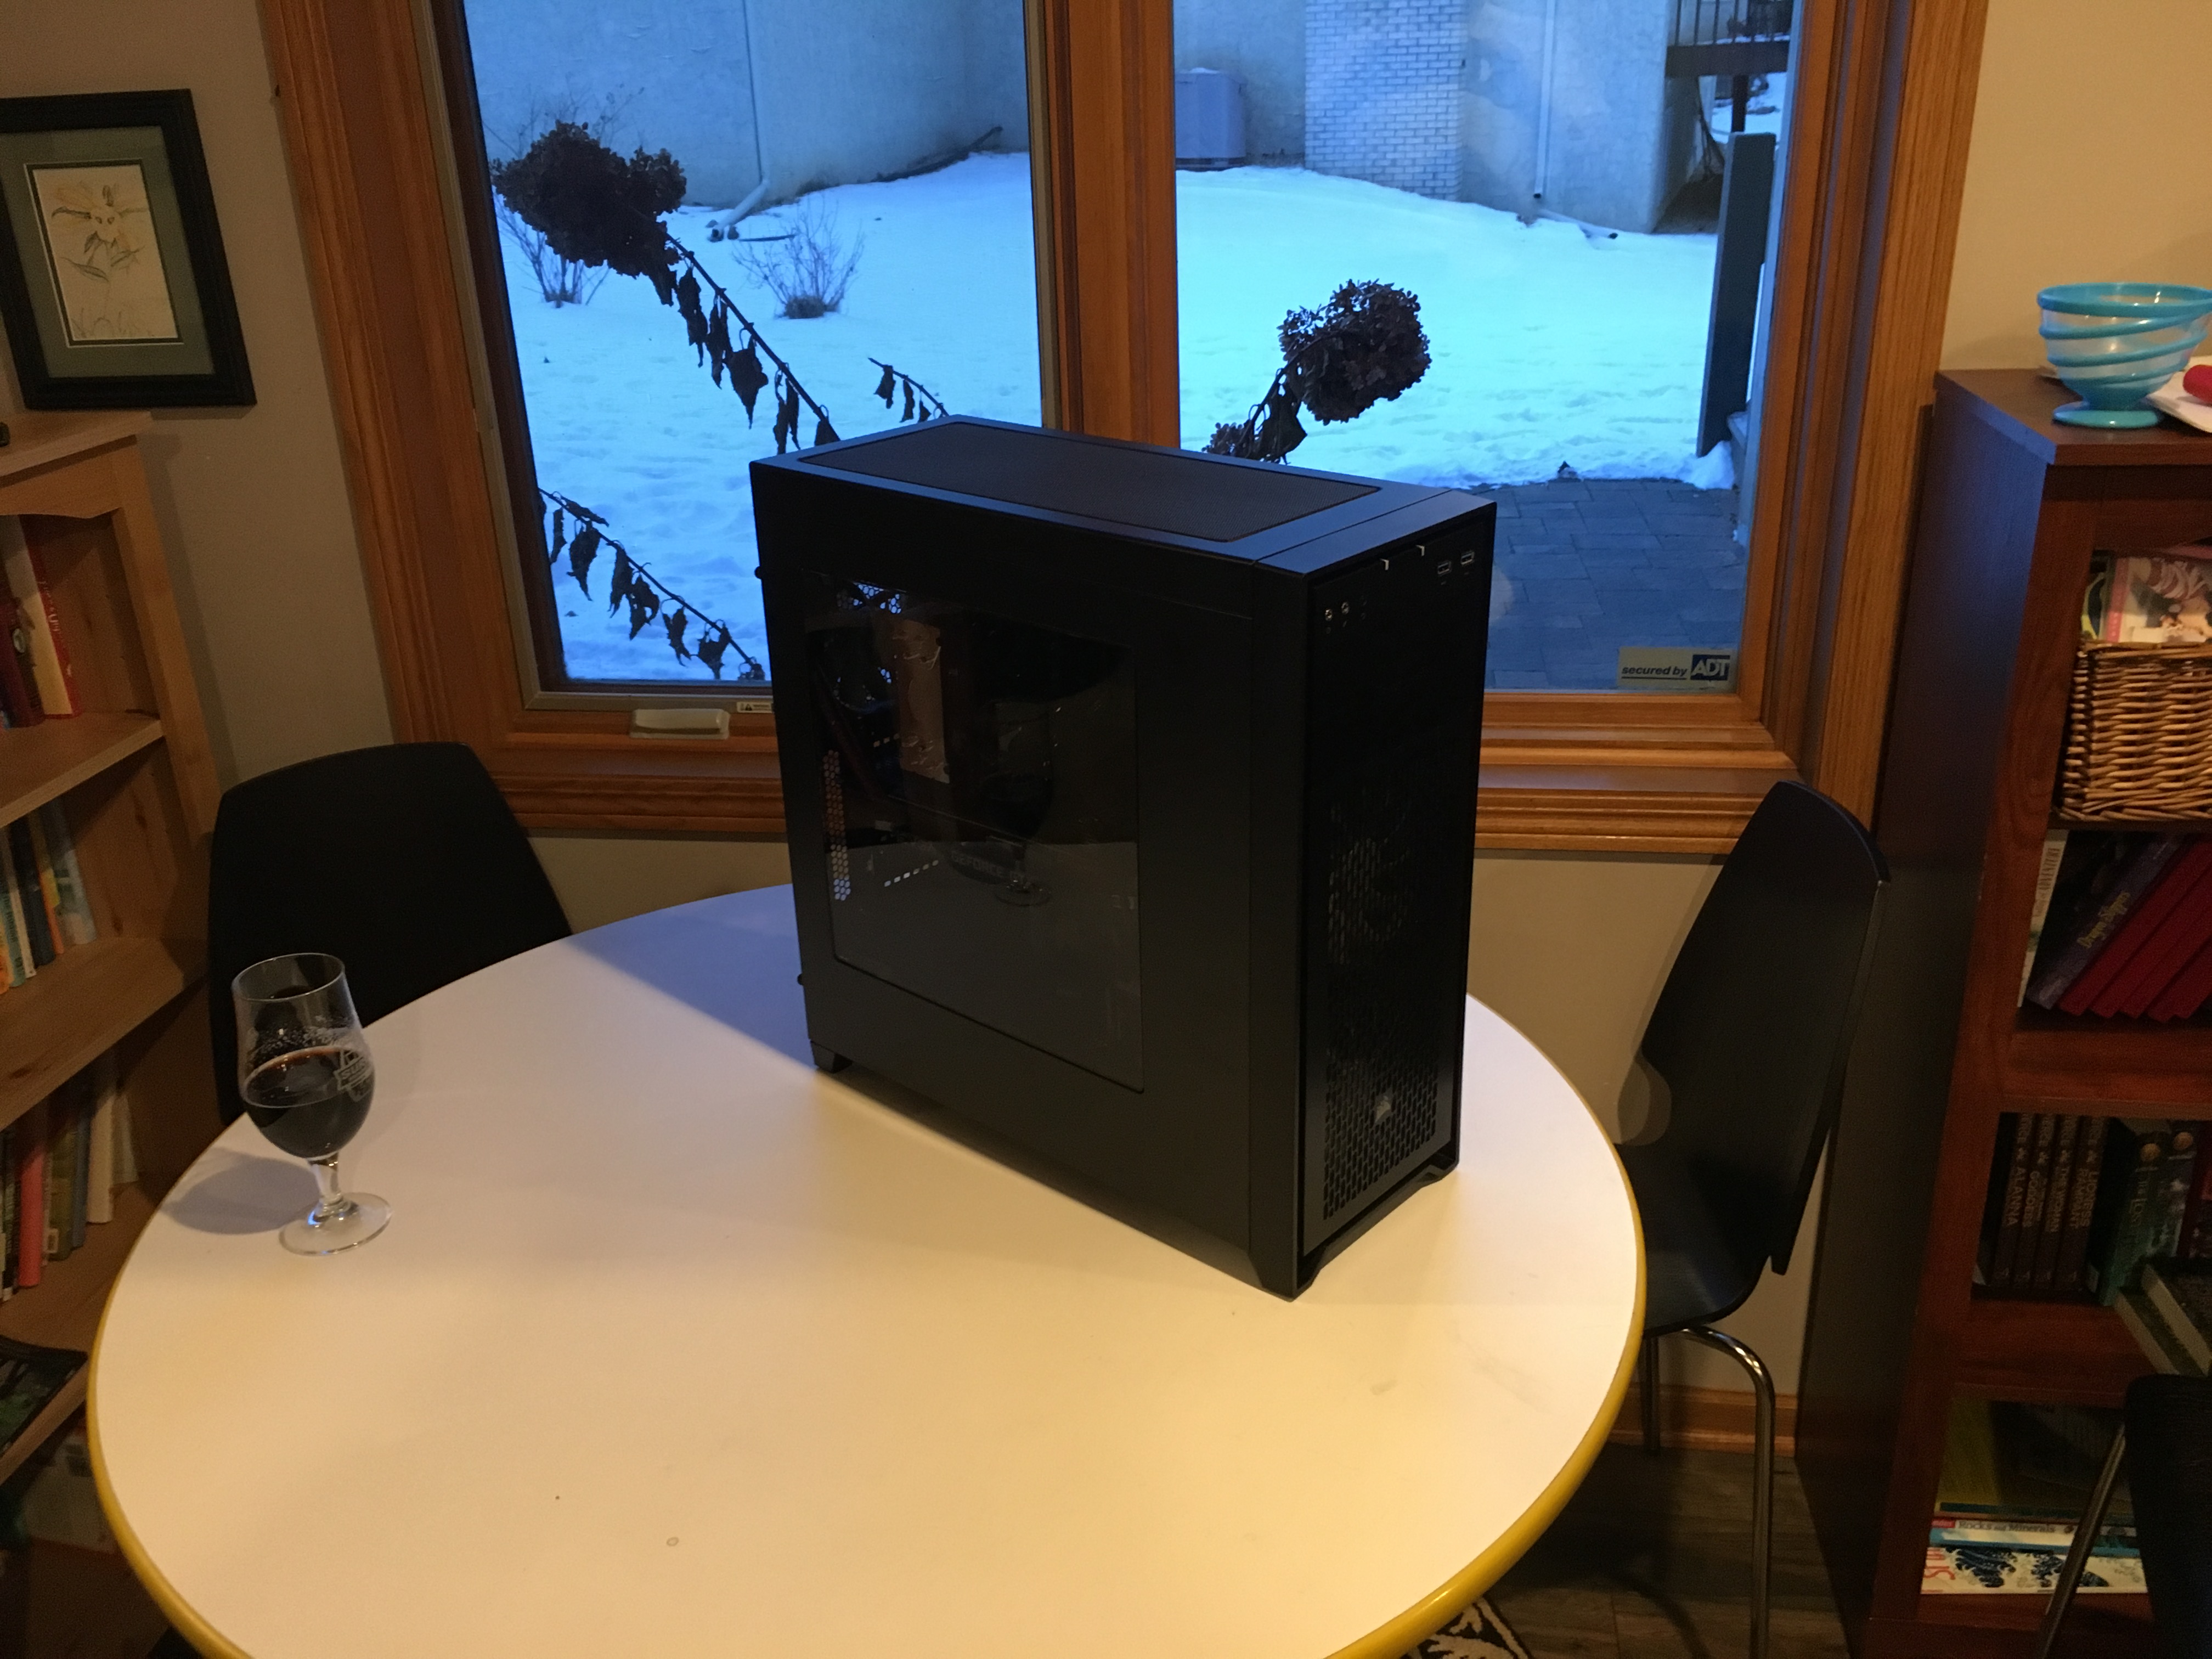
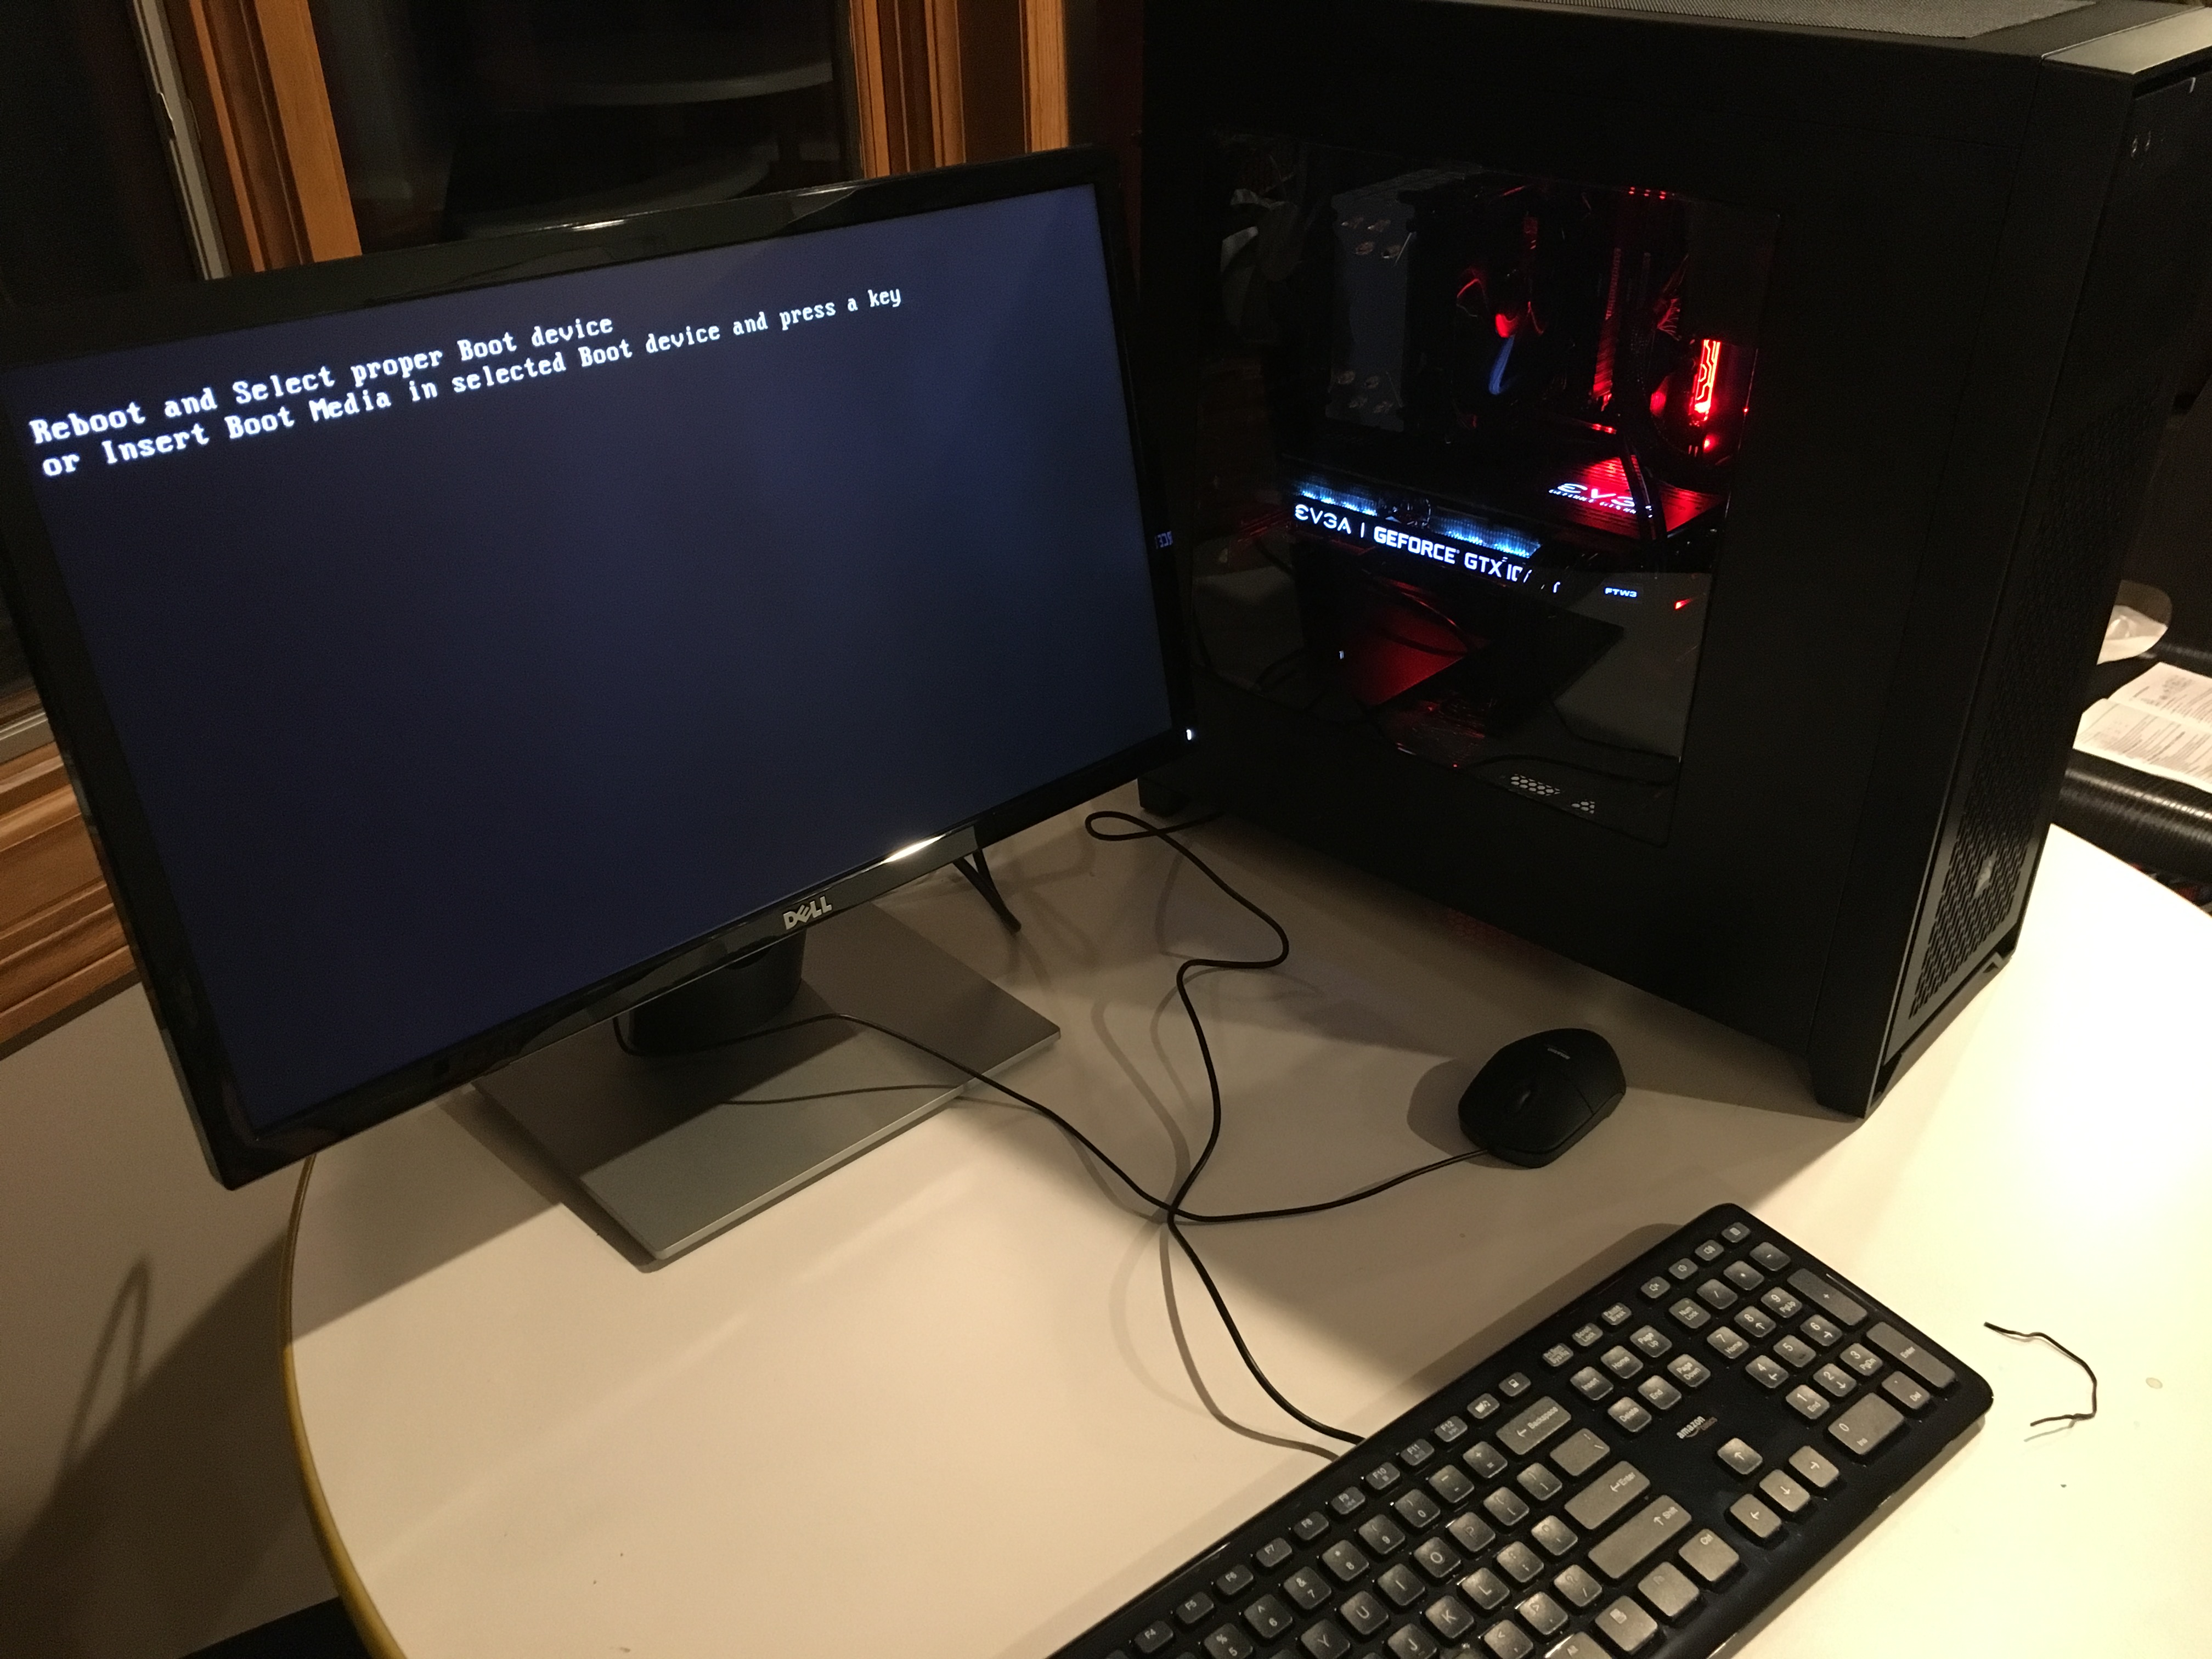
It lives! (No OS yet, however.)
Conclusion:
At this point, I had the system up and running. It took about 6 hours to get everything installed and operating.
Tune in to my next installment to learn about the process of installing the OS, Tensorflow with GPU support, the NVIDIA toolkit, CUDA, and Python.
Thanks for reading and happy new year!
– Miles